
When it comes to troubleshooting fiber installations, time is everything. A slow or underperforming connection can delay activations, frustrate clients, and jeopardize service-level agreements. At TermLink Solutions, we know that fast, accurate troubleshooting is just as important as a clean install.
In this post, we’re pulling back the curtain on how our crews diagnose and resolve fiber problems before they become long-term headaches.
Common Signal Issues in Fiber Networks
Fiber lines may be less prone to interference than copper, but they’re not immune to problems. Some of the most common culprits include:
- Dirty or damaged connectors
- Poorly executed splices
- Excessive signal loss (attenuation)
- Microbends or macrobends in the fiber
- Incorrect port mapping or labeling
- Crushed or kinked fiber in conduit
Step 1: Visual Inspection

Before breaking out the test gear, our team starts with a hands-on check. We examine:
- Splice trays and closures for loose fibers or poor heat seals
- Enclosure gaskets and cable strain relief
- Slack loops and bend radius violations
- Patch panels and jumpers for labeling errors or loose connections
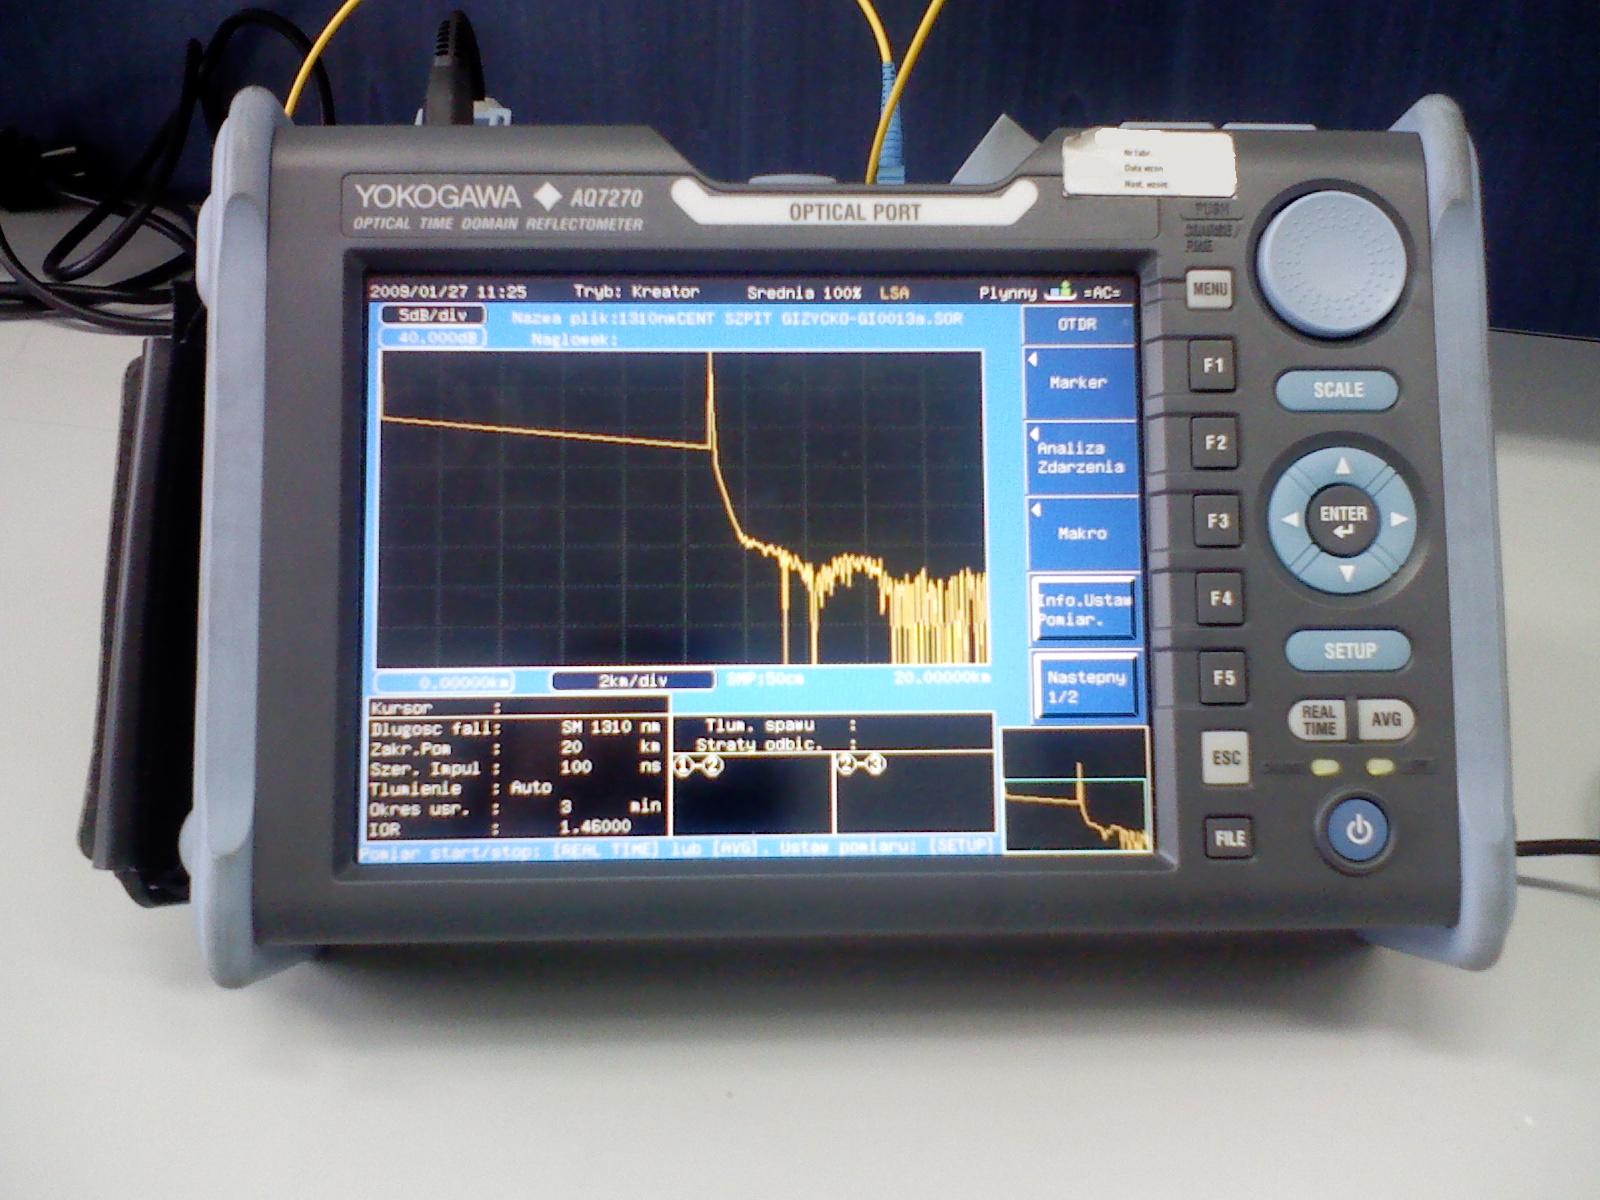
Step 2: OTDR Testing
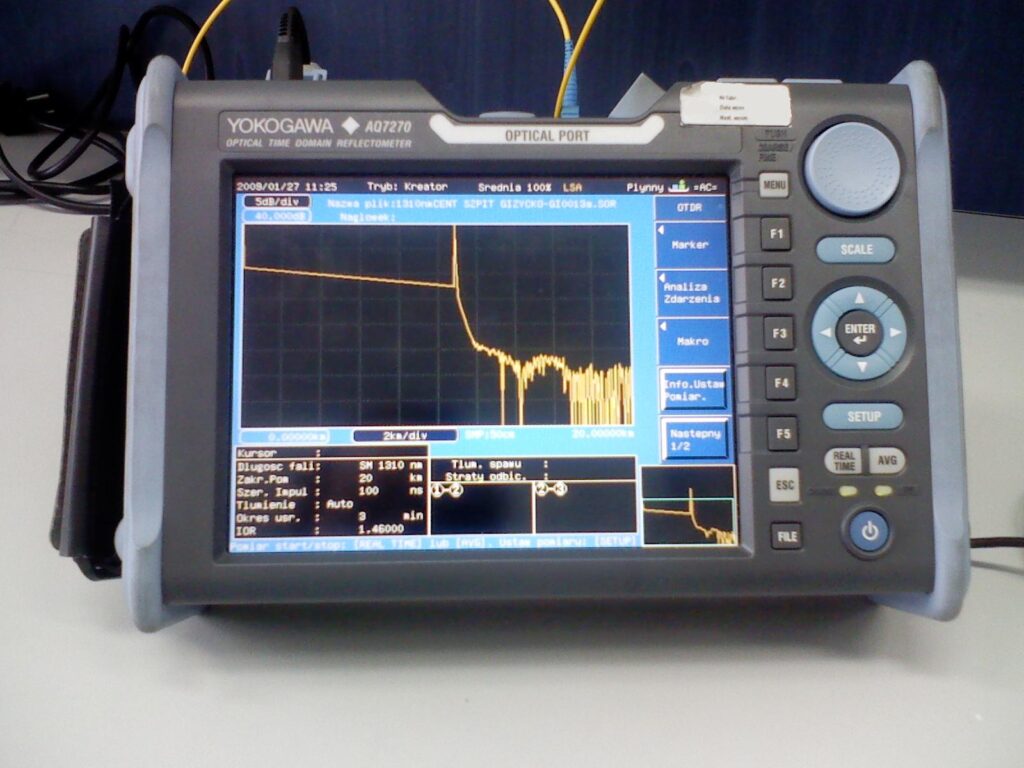
An Optical Time Domain Reflectometer (OTDR) gives us a map of the fiber link. We can pinpoint:
- Reflective events (bad connectors or breaks)
- High-loss splices
- Signal drop-offs
- Distance to any fault or bend
Our team interprets the trace to determine if repairs are needed and exactly where.
Step 3: Power Meter & Light Source Testing
After locating a potential issue, we verify it using power meters and light sources. These tools:
- Measure signal strength at specific ports
- Confirm whether loss is within acceptable parameters
- Validate that signal is passing end-to-end
This is crucial to ensure the network will meet performance requirements before turnover.
Step 4: Cleaning and Re-Termination

Many fiber issues stem from one simple thing: contamination. If a connector or port is dirty, signal loss can spike dramatically.
We:
- Use precision fiber cleaners and scopes
- Re-clean or polish connectors
- Re-terminate ends as needed
Step 5: Re-Splicing or Replacement
If testing reveals a compromised splice, we go back in. TermLink crews are trained to:
- Strip and re-cleave affected fibers
- Complete a new fusion splice
- Seal and re-label the closure
In some cases, a full replacement segment may be faster or more cost-effective.
Step 6: Final Verification and Documentation
Once the issue is resolved, we:
- Re-run OTDR and power meter tests
- Capture final readings
- Document fixes in the project log
- Notify the client of corrective actions
Final Thoughts
Troubleshooting fiber isn’t guesswork, it’s a science. And at TermLink, it’s something we take seriously. When your network’s on the line, you need a partner who can diagnose and fix issues fast, with minimal disruption and total transparency.
Need help with a fiber issue or a project that’s not performing as promised? Contact TermLink Solutions and let our field techs bring it back online.
